Showing posts with label hobby. Show all posts

Friday, May 31, 2024

vacuum chamber update

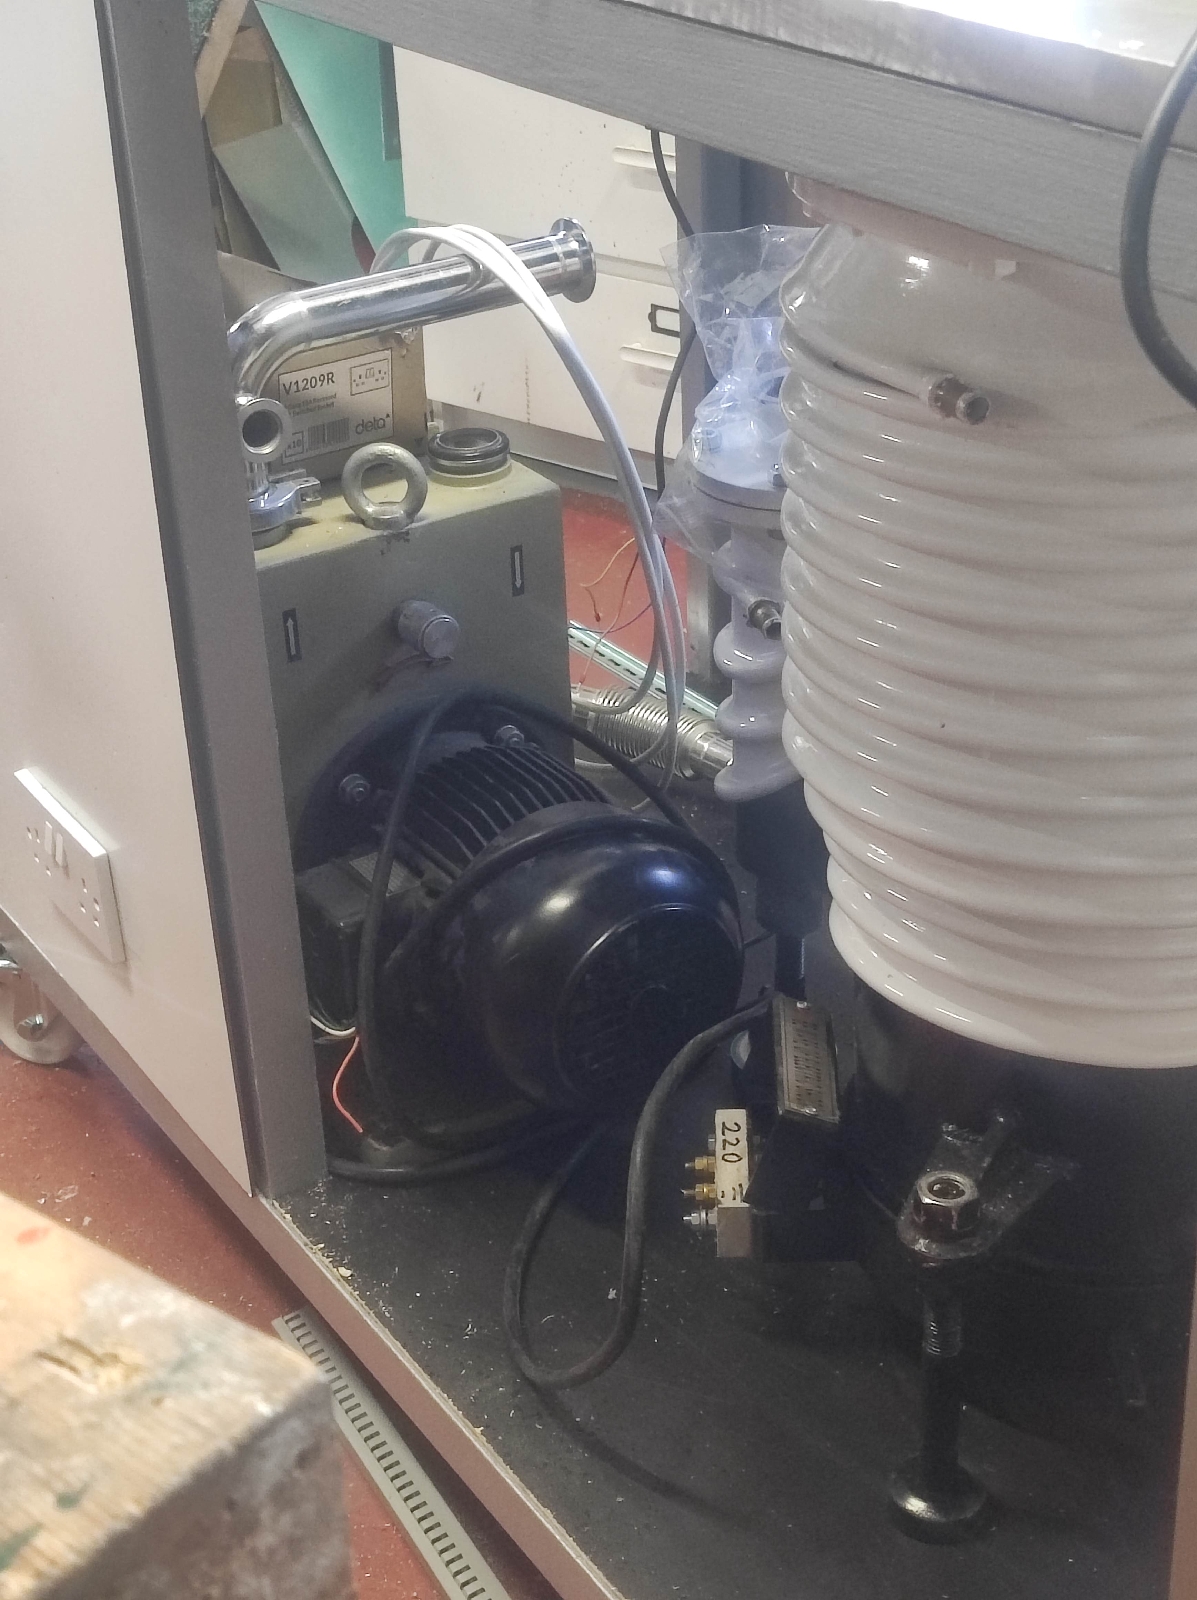
I just humped the big rotary pump onto the base off the trolly. It must be another 200kgs by now. 
Along with that I finished the fabrication of the crane. Now that's all bolted on. So I can take it off to go through door. But seriously I bolted most of it together because one knows how strong a bolt is but not how strong a weld is.
So in critical joints, bolts should be used and then you know the strength without the worry
I have yet to get all the parts into the control box. 

Sunday, January 1, 2017

High Voltage plasma cleaning.

I was wondering if it was possible to have high voltage plasma in a conductive vacuum chamber?
Seems like it is!
My previous high voltage stuff had been in the glass belljar of previous posts.
So when I started reading about plasma cleaning and surface modification, it got me wondering. 
Here is the video: 


If you are still reading, some details are: The vacuum feedthrough is a 4mm brass rod through a 7mm glass tube. Soda glass I think. Not boro' anyway. Then the threaded bit is from an old lamp fitting. I did a little work on the lathe to make the o-ring groove. All sealed up with normal(not Kwik) JB Weld.

Then it gets pushed through one of the existing electrode holes in my base plate. I know the chamber is filthy...
Strangely, I got the best ever vacuum level from my mechanical pump on this test. I got down to nearly 2x10⁻²( chamber pressure) normally I only get 6 or 5x10⁻². Just at the edge of diffusion pump land.

Some strange thing that happened were... 
Initally the pressure began to rise when I turned on the NST and so plasma. I'd unplug and let the pressure drop again. I did this about 5 times until gradually, the pressure stopped rising. Then I was able to leave the NST on for about 5mins or more. I didn't want to over heat the electrode.

Total in plasma was probably 10 mins at 150 watts.

In the video is some poor footage of the plasma exposed surface of some acrylic and the unexposed(I peeled the plastic film back after I took it out of the chamber). One wetting well, the other, no way!
As I handled it, the grease from my fingers was busily spreading from the sides of the acrylic across the surface. It was very interesting to see the contamination spread.


 Also possibly there was a good bit of oil from the saw blade used to cut this bit of acrylic.
The other sample in the chamber was a piece of fast cast polyurethane resin. It work on that too. Over all effect seems short lived. Maybe straight under Di-water is the thing to do.

Conclusion: yes it works. 
To do: clean the pieces normally to remove most of the contaminants. Wear gloves.
Try...spontaneous bonding of very clean flat surfaces by contact.

Tuesday, September 27, 2016

Evaporants arrival

Here is a small delivery from Midwest Tungsten Services.
I got some filaments, gold tone, bronze, and aluminium.
They were very nice to deal with. I spent 100dolla' to get these bits including shipping from the US to Ireland. 
I hope to try the Alu today.
 
 This form is called "cane" I suppose this is goldtone.

With some digging on the net I found it might be possible to evaporate "dutch leaf", as in, fake gold leaf. Seems to be a suitable alloy.

Tuesday, April 8, 2014

Cheapo (metal) Bell Jar the beginnings...

After a long stretch of solid work I got a chance to get back to vacuum for a while.
I was getting a bit nervous of my glass belljar imploding so I decided to go for a metal one instead.
After seeing a guy on youtube who built a mildsteel box to coat telescope mirrors in I decided to give the gas cylinder a second try.
I bought a used gas cylinder 380mm diameter just right for my base plate at 400mm.
I let the remaining gas out and unscrewed the valve. Don't forget to fill it with water to displace the remaining gas before you go a cuttin'

 
I marked the line by wrapping a yoga at around the cylinder to get a parallel line. That wasnt a good idea... you need to use some thing not so stretchy, that defeats the purpose! I marked away and used the bottom end with the complete dome.
I put the cylinder on it side and cut it with the water still inside. It was pouring out all over the place. I trimmed much of the foot ring off too. I wanted to get rid of excess weight. It is heavy.
Once it was cut I dried it straight away. We don't want any rust forming, very bad for outgassing.
Then on to leveling. Even though I paid great attention to the cutting I still spent 3 hours leveling the cut to get it nice ond flat. For this process I spray glued strips of al'oxide paper to a scrap of countertop. Its nice and flat and very ridged. I did a couple of hours of 80grit and an hour with 120...
Very tiring on the arms! During the sanding I regularly ran a black marker along the edge so I could see my progress clearly. I would watch the colour sand off, and the black patches get smaller and smaller. Eventually I got down to a consistant edge. I went then, by hand with a finer sand paper to get rid of the 120 scratches. I rubbed along the edge insted of across it. If there are scratches left they are better not to be radial across the edge as it is more likely to leak in that case.

The whole interior had a dark crust on it. I don't know what it is, possibly passivated with phosphate? I diligentlly sanded this away. There was still a bad smell coming from the tank. This got less and less as the crustyness came off.
I cut a new flat rubber gasket and greased up and sure enough it pumped down to 40micron the limit of my pump....

Friday, July 13, 2012

Very Expencive Beer Mat


I know this is off topic again but...

Just a quick post of a couple of pictures of a thing I cut with my homemade CNC today. This started life as a drawing which I photographed and vectorized. Then CAMed and routed. I'm very happy with the results. Size 120mm dia.

The reason for this piece is partly promotional and also I'm tring to see what my machiene can do!
I'm delighted with how this turned out.

Tuesday, June 26, 2012

Copper Bellows. A lesson for me.

I'm trying to eliminate leaks in my(still not working) laser so I decided to go for copper bellows instead of my current O-ring seal for mirror adjustment.
But I couldn't find any copper bellows, so I decided to give it a shot and see if I could make a pair.
After first considering soldering them up from parts, I decided to electroform.

Here is a picture of my wax mandrel. It is made from injection moulding wax. It turns ok if you don't try to take too much off in one go.
I then cut the recesses or corrugations or what ever you would call it. With the piece still spinning, I hit it with a touch of a gas flame to soften the corners and give me a nice smooth finish.


I parted off and heated a bit of copper wire and stuck it in to the end. Then I was ready for conductive coating.
There are a few options here. Sputter, chemical silver, electroless copper, conductive paint, graphite.
I decided to go with graphite because it was the simplest and I had it at hand.

 So I dipped the wax in "white spirit" for 20 seconds and drained it. Then the surface of the wax was slightly sticky.
Then I bunged it in graphite powder. I made sure it was all covered before the white spirit flashed off.
After a minute I brushed the excess powder off with a makeup brush.
A very important note here is that burnished graphite powder is significantly more conductive than non burnished.
Just rubbing with the bristles of an artist paint brush is enough to burnish it.
I need to reach into the interior ring to burnish the graphite there before it would plate properly.


 Here it is beginning to get its initial copper coating. Nice!

I electroformed for 8 hours giving me 8*24microns so 0.2mm in theory!
 Measuring the bare wire versus the electroformed part confirmed the thickness.
 I drilled and melted out the wax.

I then very carefully annealed the tube, in the process evaporating the remaining carbon. I pickled
and ultrasoniced the remaining crud off.

And then disaster!! The inner rings were so thin that they cracked in the ultrasonic. They came out with some small holes and
crack lines.
I had always planned on re electroforming inside the tube as I thought they would be a little thinner. But they are significantly thinner and quite brittle.

So I placed a copper pipe electrode into my copper plating solution and began plating from the inside.
After another 4 hours...
 I ran the ends on the belt sander to clean them up...
 And tin/lead soldered it together. Ta da, one flexible mirror mount!


In retrospect I would do this differently. I had a huge problem with the shape of the mandrel causing different plating thickness
I bet anyone with plating experience could have seen that coming. So for the next electroformed copper bellows I will follow these guides:
  • Interior corrugations must be wider than they are deep.
  • Returns must be angled to face the electrode for copper plating reasons.