This is the casating I wanted to try a bit of evaporation on to. Its made of fastcast polyurethane and then spray-painted with gloss black.As the Al coating has no filling qualities the gloss of the coating is a result of the texture of the base.
I picked up a few aluminium prefused tungesten filiments from a company called Midwest Tungsten in the US of A. This is a bit overkill for a DIYer but the were cheap, from their surplus bin!

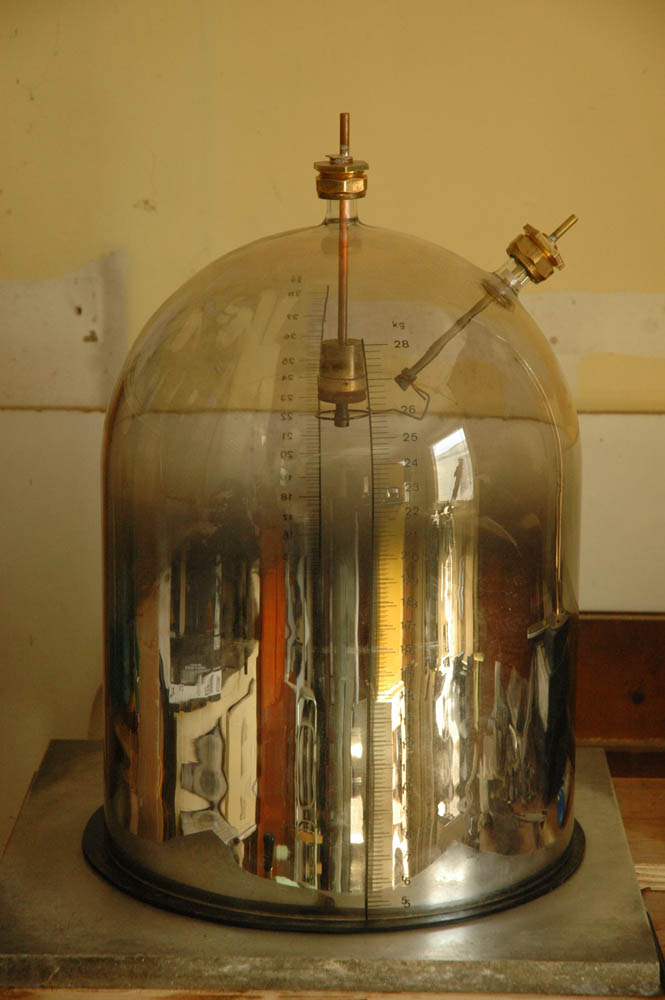
So I hung the plastic part from a wire inside the bell and began to pump down...
When I got to 40micron or so I turned on the MOT power supply.(I wrote this up in the blog a good while ago)
After 20 seconds I got this! I was delighted! Just mechanical pump, no diff. Now, its not up to scratch yet but these little victories help me keep the faith.(Ignore the electrodes poking through, they are just sealing the holes here)
A strange thing at this vacuum is the fact that the back of the part got a covering of Al. as well. It must fly around in the belljar at these crappy vacuum levels.
There is the front. Opaque but not bright. It has greyness in person. Getting there...